Adding An Authentication Provider
This guide describes how to add an authentication provider to your chatbot.
This guide assumes that your account has the necessary permissions.
Navigating
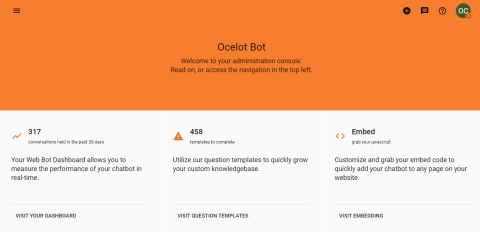
These steps begin at the home page the product administrator. The home page should look similar to this picture:
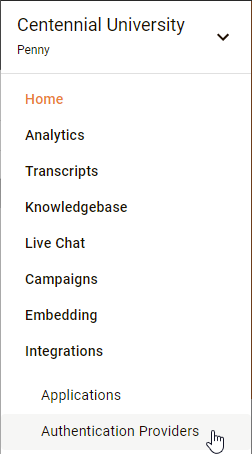
Press the menu button located in the upper-left corner of the home page.

This will bring up the Product Admin menu. Click on the "Integrations" heading to expand it. Then click the "Authentication Providers" item.
Clicking on the menu item will bring you to the Authentication Providers page.
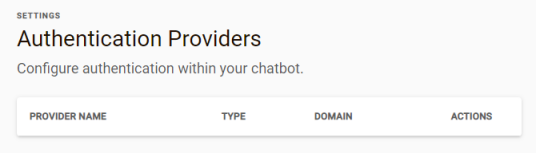
Next press the add button located in the lower right corner of the Authentication Providers page.

Populating
The button press will bring you to the Create Authentication Provider dialog. Populate the 3 fields in Setup: Provider Name, Domain, and Provider Type. Currently only one provider type is supported: SAML 2.0
The specifics of a SAML 2.0 authentication providers are provisioned through one of two approaches: an URL that serves out SAML metadata XML, or a file that is the SAML metadata XML. Most SAML 2.0 authentication providers support one or both approaches.
When the metadata URL approach should be used, select the radio button labeled "SAML Metadata URL".
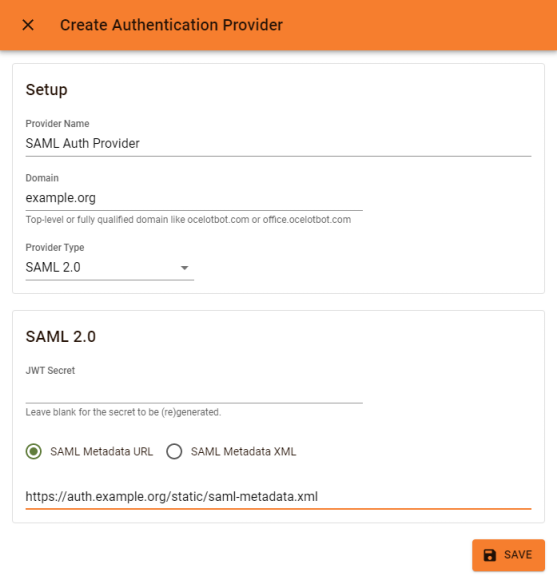
When the metadata file approach should be used, select the radio button labeled "SAML Metadata XML".
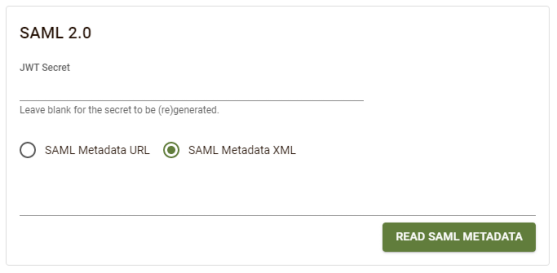
Then press the "Read SAML Medadata" button to read the metadata XML file into the dialog. The metadata XML contents will be visible in the dialog. The contents will not be sent to Ocelot until the final step.
Saving
The final step is to press the Save button. This will create the authentication provider.